

If you need to know how to apply breast forms, follow these simple steps and your forms will stay in place all day and everyday without a bra. There are a few important steps you will need to take in order to effectively attach them so they do not fall off. Making sure they are put on correctly will not only help them stay on securely but ensure you get years of use from your breast forms. Applying breast forms doesn’t need to be difficult, so check out the steps below or watch our YouTube video, “Breast Form Attachment” and you’ll be a pro in no time at all. So without further ado, let’s begin!

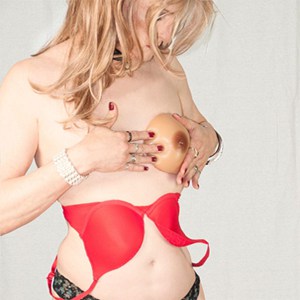
Tip: Start the process by attaching your bra around your body and then flipping it over (see photo above).
Prepping your chest for breast form application
Applying breast forms is more comfortable if you’ve shaved your chest thoroughly before you begin. Trust me, you do not want your breast forms pulling off your chest hair in the removal process! Ouch!
Watch Heidi Phox as she takes you step-by-step from preparing the chest for attachment to positioning and gluing breast form directly in place.

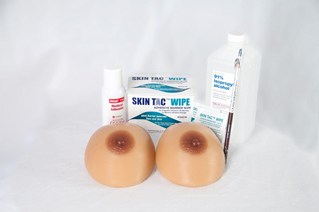
After you remove all the unnecessary hair from the area you are using, you can begin to cleanse the skin. Using a simple alcohol rub pad you can begin to remove any leftover soap or body oil from the skin.

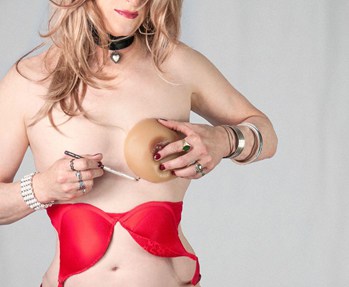
Positioning your breast forms
Begin positioning your breast forms on your chest in the desired spot you would like them to attach. Then, simply take an eyebrow/eyeliner pencil and begin to lightly mark where you will place each breast form. This will give you a clear picture of where to place the breast forms once you apply the adhesive glue.

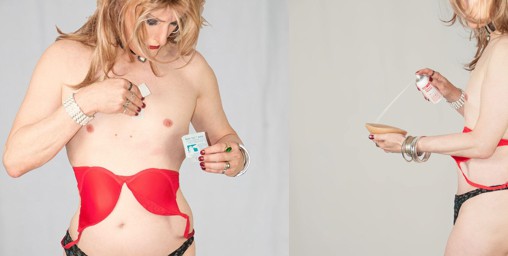
Applying adhesive
Wipe the area with a fresh Skin Tac wipe. Then, take your first breast form and hold it with the back facing you. Using the brush applicator, brush a layer of the adhesive around the breast form back, about an inch wide just inside the outer edge. You do not need to cover the whole back of the form. Unlike the old spray adhesive you do not waste any – it all goes directly where you need it. Take your time with this and remember it does not over use the glue.
Tip: Do NOT over spray with Breast Form Adhesive – too much glue and it does not work properly.

Applying breast forms: the first attachment
If you are NOT using Skin Tac wipes then place your glue-applied breast form onto your chest where you have previously outlined. Gently push the breast form into your skin to transfer some of the glue onto your skin. Now, gently remove the breast form from your chest completely. (If you have used Skin Tac, you can miss out the First Attachment step) Once First Attachment or Skin Tac has been apply glue to your breast forms again with the brush applicator and leave them to rest for 1 to 3 minutes until they get tacky.
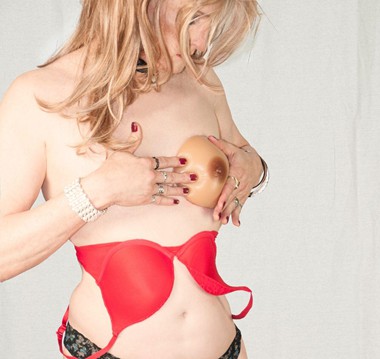

Applying breast forms: the final attachment
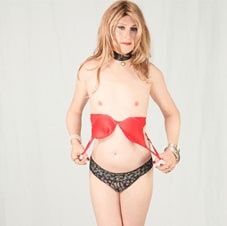
Take both breast forms and place them back onto your chest where you originally placed them the first time. When the tacky glue meets the glue that is already on the skin, it creates a strong seal that will keep your breast forms in place for a long time. Now, to lock them in, flip your bra up for support. Leave your bra on for at least 20 minutes. After the initial 20 minutes your breast forms should be ready to wear topless!
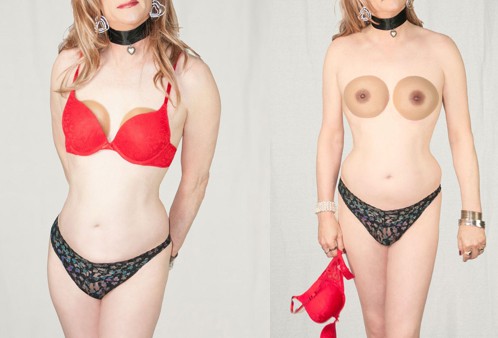

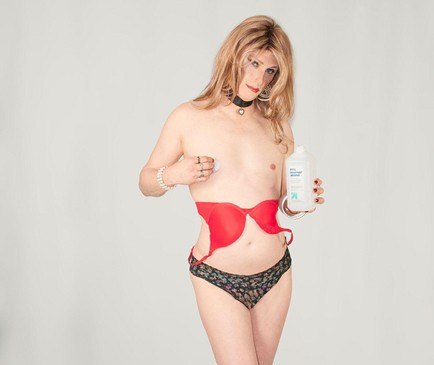
Applying your breast forms this way will ensure a long lasting hold. This means you will be able to wear more revealing clothing, strapless dresses/tops, and lingerie while feeling more like a woman! Take a look at our affordable breast forms now to find your perfect pair.